Extend Your Growing Season: Build a DIY Greenhouse for Under $500
Extending your growing season and nurturing your plants year-round can be achieved cost-effectively by building your own DIY greenhouse for under $500, unlocking the potential for fresh produce and vibrant blooms even during colder months.
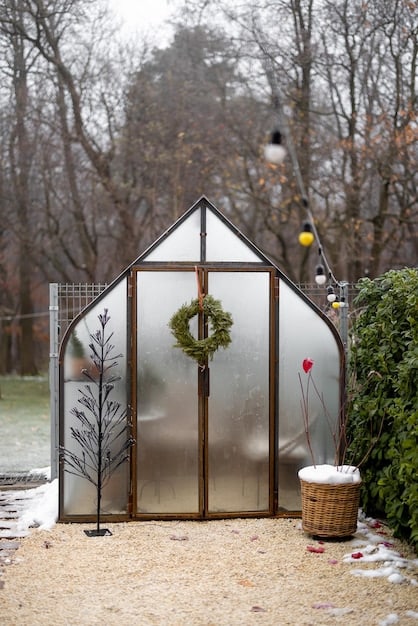
Dreaming of fresh tomatoes in December? You can extend your growing season: build a DIY greenhouse for under $500 and enjoy gardening year-round, even in colder climates.
Why Build a DIY Greenhouse?
Building your own greenhouse offers numerous advantages for gardeners. It allows you to control the environment, protecting your plants from harsh weather conditions, pests, and diseases. Plus, it’s a rewarding project that can save you money compared to purchasing a pre-built greenhouse.
A DIY greenhouse enables you to start seedlings earlier in the spring, extending your growing season. You can also grow warm-weather crops year-round in colder climates, providing a continuous supply of fresh produce. Let’s explore the benefits in more detail.
Extend Your Growing Season
The primary benefit of a greenhouse is the ability to extend your growing season. By providing a controlled environment, you can start planting earlier in the spring and continue harvesting later into the fall, or even year-round. This is especially valuable in regions with short growing seasons.
Protect Plants from Harsh Weather
Greenhouses provide a sheltered environment, protecting plants from frost, hail, strong winds, and excessive rain. This protection ensures healthier, more productive plants that are less susceptible to damage and disease caused by weather-related stress.
Affordable Gardening
Building a DIY greenhouse can be a surprisingly affordable project. By using recycled materials and simple construction techniques, you can create a functional greenhouse for under $500. This makes greenhouse gardening accessible to a wider range of gardeners. Here are some materials can be utilized:
- Repurposed windows and doors
- PVC pipes for framing
- Recycled lumber from old projects
- Plastic sheeting for covering
Creating a greenhouse using these or similar materials can save hundreds of dollars.
Ultimately, a DIY greenhouse offers unparalleled control over your growing environment, allowing you to optimize conditions for your plants. With a little planning and effort, you can create a space that perfectly suits your gardening needs and extends your growing season significantly.
Planning Your DIY Greenhouse
Before you start building, careful planning is essential. This includes considering the size and location of your greenhouse, as well as the materials you’ll need. A solid plan ensures a smoother construction process and a greenhouse that meets your needs effectively.
Thinking about the types of plants you want to grow and the available space in your yard will help determine the ideal size for your DIY greenhouse.
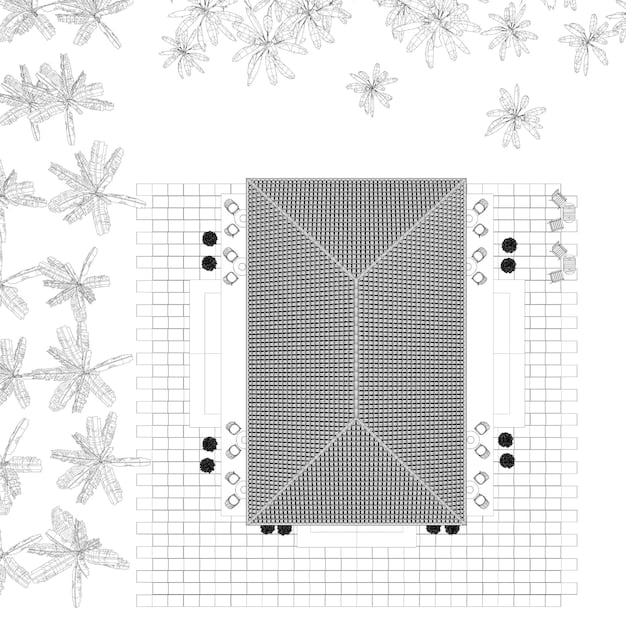
Size and Location
Consider the size of your garden and the amount of space you can dedicate to a greenhouse. A small greenhouse (e.g., 6×8 feet) may be sufficient for starting seedlings and growing a few plants, while a larger greenhouse (e.g., 10×12 feet) can accommodate a wider variety of crops. Choose a location that receives ample sunlight throughout the day, ideally facing south or southeast.
Choosing Your Materials
DIY greenhouses can be constructed from a variety of materials, including wood, PVC pipes, and metal framing. Each material has its own advantages and disadvantages in terms of cost, durability, and ease of construction. Consider using recycled materials to further reduce costs.
Design and Layout
Think about the overall design and layout of your greenhouse. A simple hoop house design is easy to construct and cost-effective, while a more elaborate structure with solid walls and a roof provides better insulation and protection. Consider adding features like ventilation, shelving, and a potting bench.
- Hoop house design: Simple and inexpensive option.
- Solid wall structure: Better insulation and protection.
- Ventilation system: Prevents overheating and promotes airflow.
In summary, meticulous planning is the cornerstone of a successful DIY greenhouse project. Thoughtful consideration of size, location, materials, and design will pave the way for a functional and productive greenhouse that extends your growing season and provides years of gardening enjoyment.
Gathering Your Materials
Once you have a plan, the next step is to gather your materials. This may involve sourcing recycled materials, purchasing lumber, or ordering supplies online. Creating a detailed materials list ensures you have everything you need before you start building.
Careful selection of materials can save you money and ensure the longevity of your DIY greenhouse. Consider the durability and suitability of each material for your specific climate and growing needs.
Framing Materials
The frame of your greenhouse can be constructed from wood, PVC pipes, or metal. Wood is a sturdy and traditional option, but it can be susceptible to rot and insect damage if not properly treated. PVC pipes are lightweight, inexpensive, and easy to work with, but they may not be as durable as wood or metal. Metal framing offers excellent strength and durability, but it can be more expensive and require welding skills.
Covering Materials
The covering of your greenhouse should be transparent to allow sunlight to reach your plants. Common options include polyethylene film, polycarbonate panels, and glass. Polyethylene film is the most affordable option, but it has a shorter lifespan than polycarbonate or glass. Polycarbonate panels are more durable and offer better insulation, while glass provides excellent light transmission but is more expensive and prone to breakage.
Fasteners and Hardware
You’ll need a variety of fasteners and hardware to assemble your greenhouse, including screws, nails, hinges, and latches. Choose galvanized or stainless steel hardware to prevent rust and corrosion. Consider using specialized greenhouse clips and connectors for attaching the covering material to the frame.
Careful material selection will not only contribute to the structural integrity of your greenhouse but also influence its overall performance. By investing in quality materials or creatively repurposing existing ones, you can build a DIY greenhouse that is both budget-friendly and built to last.
Building Your DIY Greenhouse: Step-by-Step
Now comes the exciting part—building your greenhouse! This section provides a step-by-step guide to constructing a basic hoop house greenhouse, which is a simple and affordable design. Remember to adapt these instructions to suit your specific design and materials.
When it comes to the construction of your DIY greenhouse, safety should be your top priority. Always wear appropriate personal protective equipment (PPE) and follow all safety guidelines when working with power tools or handling construction materials.
Step 1: Building the Frame
Start by constructing the base of your greenhouse. This can be done by creating a simple wooden frame or using concrete blocks. Attach the hoops to the base using metal brackets or clamps. Ensure that the hoops are evenly spaced and securely fastened.
Step 2: Attaching the Covering
Once the frame is complete, it’s time to attach the covering material. Carefully stretch the polyethylene film or polycarbonate panels over the frame and secure them with greenhouse clips or screws. Ensure that the covering is taut and wrinkle-free to maximize light transmission.
Step 3: Adding Ventilation
Ventilation is crucial for maintaining a healthy environment inside your greenhouse. Install vents or openings near the top of the greenhouse to allow hot air to escape. You can also add a small fan to improve air circulation.
- Install vents near the top to release hot air.
- Add a fan for better air circulation.
- Ensure vents can be opened and closed easily.
Building your own DIY greenhouse is a rewarding learning journey, and with each step completed, you’ll gain valuable skills and insights into greenhouse construction. Embrace the experience, stay flexible, and adapt your approach as needed.
Optimizing Your Greenhouse Environment
Once your greenhouse is built, it’s important to optimize the environment for your plants. This includes managing temperature, humidity, and light levels. A well-managed greenhouse will provide the ideal conditions for healthy growth and maximum yields.
Monitoring and adjusting environmental factors is key to creating a thriving ecosystem within your DIY greenhouse. Regularly checking temperature, humidity, and light levels will allow you to fine-tune conditions and prevent potential problems.
Temperature Control
Maintaining a consistent temperature is crucial for plant growth. Use a thermometer to monitor the temperature inside your greenhouse and adjust ventilation or heating as needed. Consider using a greenhouse heater during cold weather and shade cloth during hot weather.
Humidity Management
High humidity can lead to fungal diseases, while low humidity can cause plants to dry out. Use a hygrometer to monitor the humidity level inside your greenhouse and adjust ventilation or watering as needed. Consider using a humidifier or dehumidifier to maintain optimal humidity. Some additional tips for humidity management would be the following:
- Water plants in the morning to allow foliage to dry.
- Space plants adequately for better airflow.
- Use fans to circulate air.
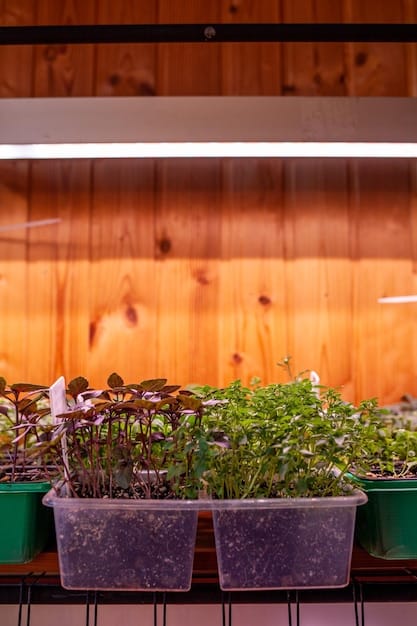
Light Regulation
Plants need adequate light to grow, but too much direct sunlight can cause overheating and damage. Use shade cloth or whitewash to reduce light intensity during the hottest part of the day. Consider using grow lights to supplement natural light during the winter months. A light meter can help you determine your plants’ light needs.
By carefully monitoring and adjusting temperature, humidity, and light levels, you can create a flourishing environment where your plants can thrive and reach their full potential. Remember to be observant, stay proactive, and adapt your management techniques as the seasons change and your plants grow.
Troubleshooting Common Greenhouse Problems
Even with careful planning and management, you may encounter some common problems in your greenhouse. This section provides tips on how to troubleshoot these issues and keep your plants healthy.
By understanding these common problems and learning effective troubleshooting techniques, you can become a resilient and resourceful greenhouse gardener, ready to overcome any challenges and maintain a thriving growing environment.
Pest Control
Greenhouses can be susceptible to pests such as aphids, spider mites, and whiteflies. Inspect your plants regularly for signs of infestation and take action promptly. Use organic pest control methods such as insecticidal soap, neem oil, or beneficial insects.
Disease Prevention
High humidity and poor ventilation can create favorable conditions for fungal diseases. Provide adequate ventilation, avoid overwatering, and remove any infected plant material promptly. Consider using fungicides or biocontrol agents to prevent disease outbreaks.
Weed Management
Weeds can compete with your plants for nutrients and water. Remove weeds regularly by hand or use a hoe. Consider using landscape fabric or mulch to prevent weed growth.
Dealing with pests and diseases is an inevitable part of greenhouse gardening, but with proactive scouting, early intervention, and the use of sustainable pest management strategies, you can minimize their impact on your plants. Remember, a healthy and balanced greenhouse ecosystem is the best defense against unwanted invaders.
| Key Point | Brief Description |
|---|---|
| 🌱 Extend Season | Grow plants year-round, regardless of climate. |
| 💰 Cost-Effective | DIY greenhouses can cost under $500. Use recycled materials. |
| ☀️ Location Matters | Choose a spot with ample sunlight throughout the day. |
| 🐛 Pest & Disease | Monitor regularly and use organic control methods. |
Frequently Asked Questions
DIY greenhouses allow you to extend the growing season, protect plants from harsh weather, and save money compared to pre-built structures, offering customized control over the growing environment.
Repurposed windows, PVC pipes, recycled lumber, and plastic sheeting are excellent low-cost materials for building a functional and affordable DIY greenhouse, reducing overall expenses.
Ventilation is crucial for temperature and humidity control. It helps prevent overheating and fungal diseases by promoting airflow, ensuring a healthy growing environment inside the greenhouse.
Organic pest control methods include using insecticidal soap, neem oil, and introducing beneficial insects to manage pests without harmful chemicals, maintaining a balanced ecosystem inside the greenhouse.
The best location for a DIY greenhouse is one that receives ample sunlight throughout the day, ideally facing south or southeast, to maximize light exposure for optimal plant growth.
Conclusion
Building a DIY greenhouse for under $500 is an achievable and rewarding project that can significantly extend your growing season and provide a protected environment for your plants. With careful planning, resourcefulness, and a little elbow grease, you can enjoy fresh produce and vibrant blooms year-round, regardless of your climate.


